Bloglovin

Follow
Showing posts with label acrylic inks. Show all posts

Saturday, 6 January 2018

Wanderlust 2018 Set up and Week 1!

Hello my lovelies! 😊
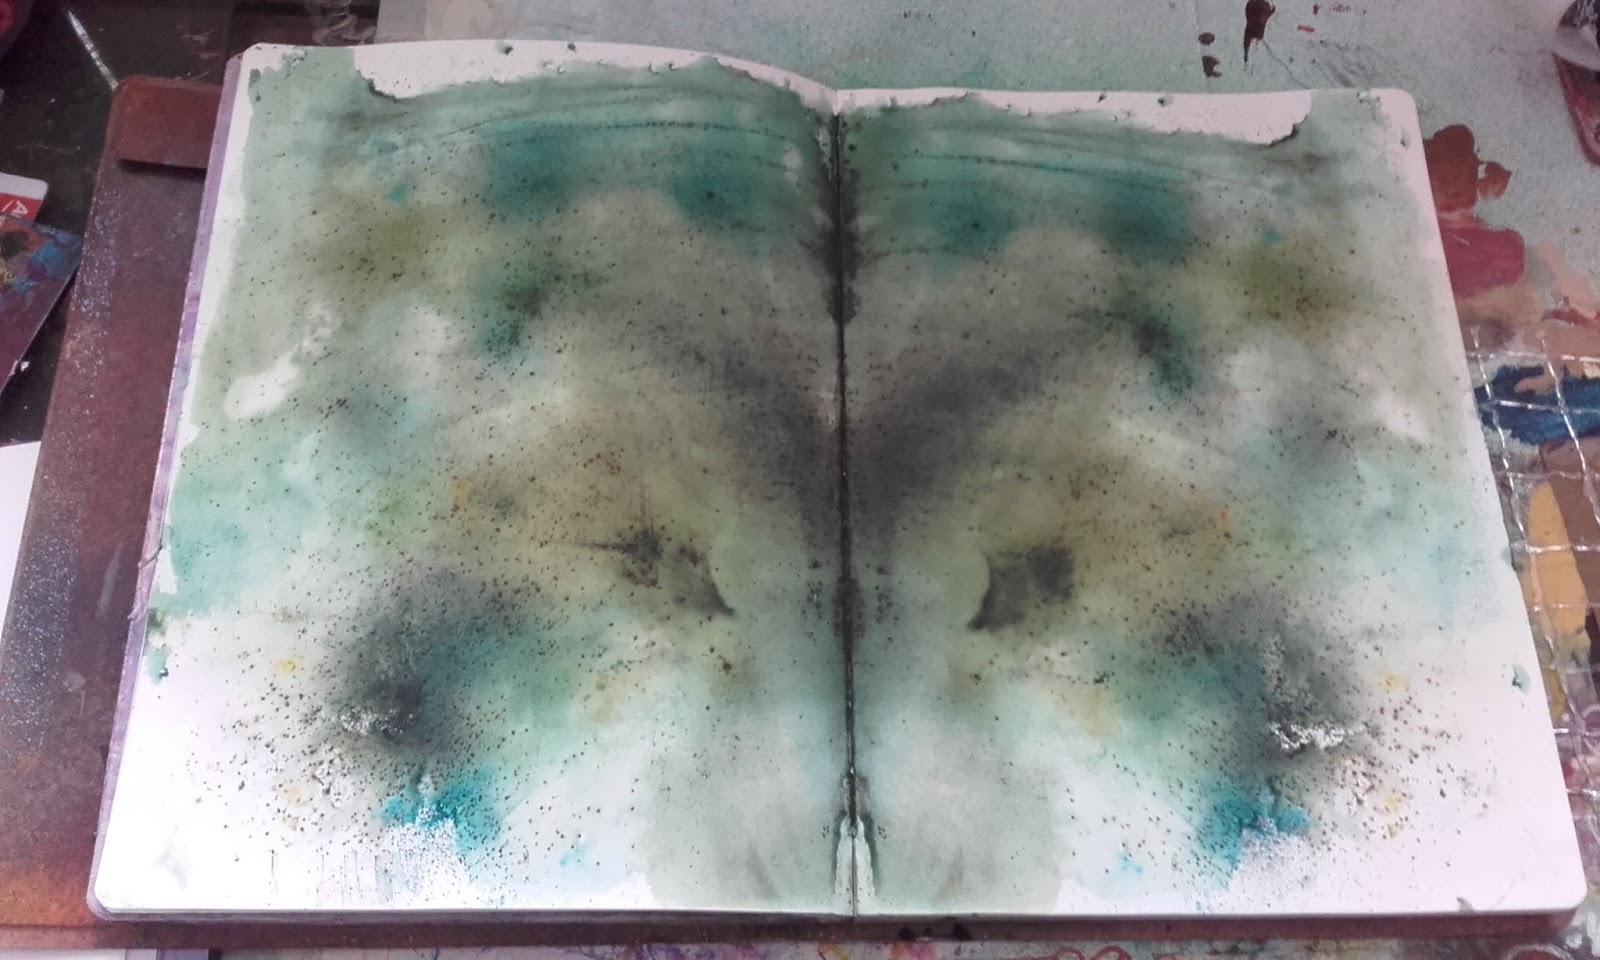
2018 is here and I'm doing Wanderlust for another year. To be honest I only got to week 7 last year, but I will continue doing 2017 along side 2018. In order to start as I mean to go on, I set up a new small Dylusions Journal for the 2018 course. I used my big one last year and although I will be continuing 2017 in it, I wanted a separate one for 2018. I also think I'll cope better with the small one.
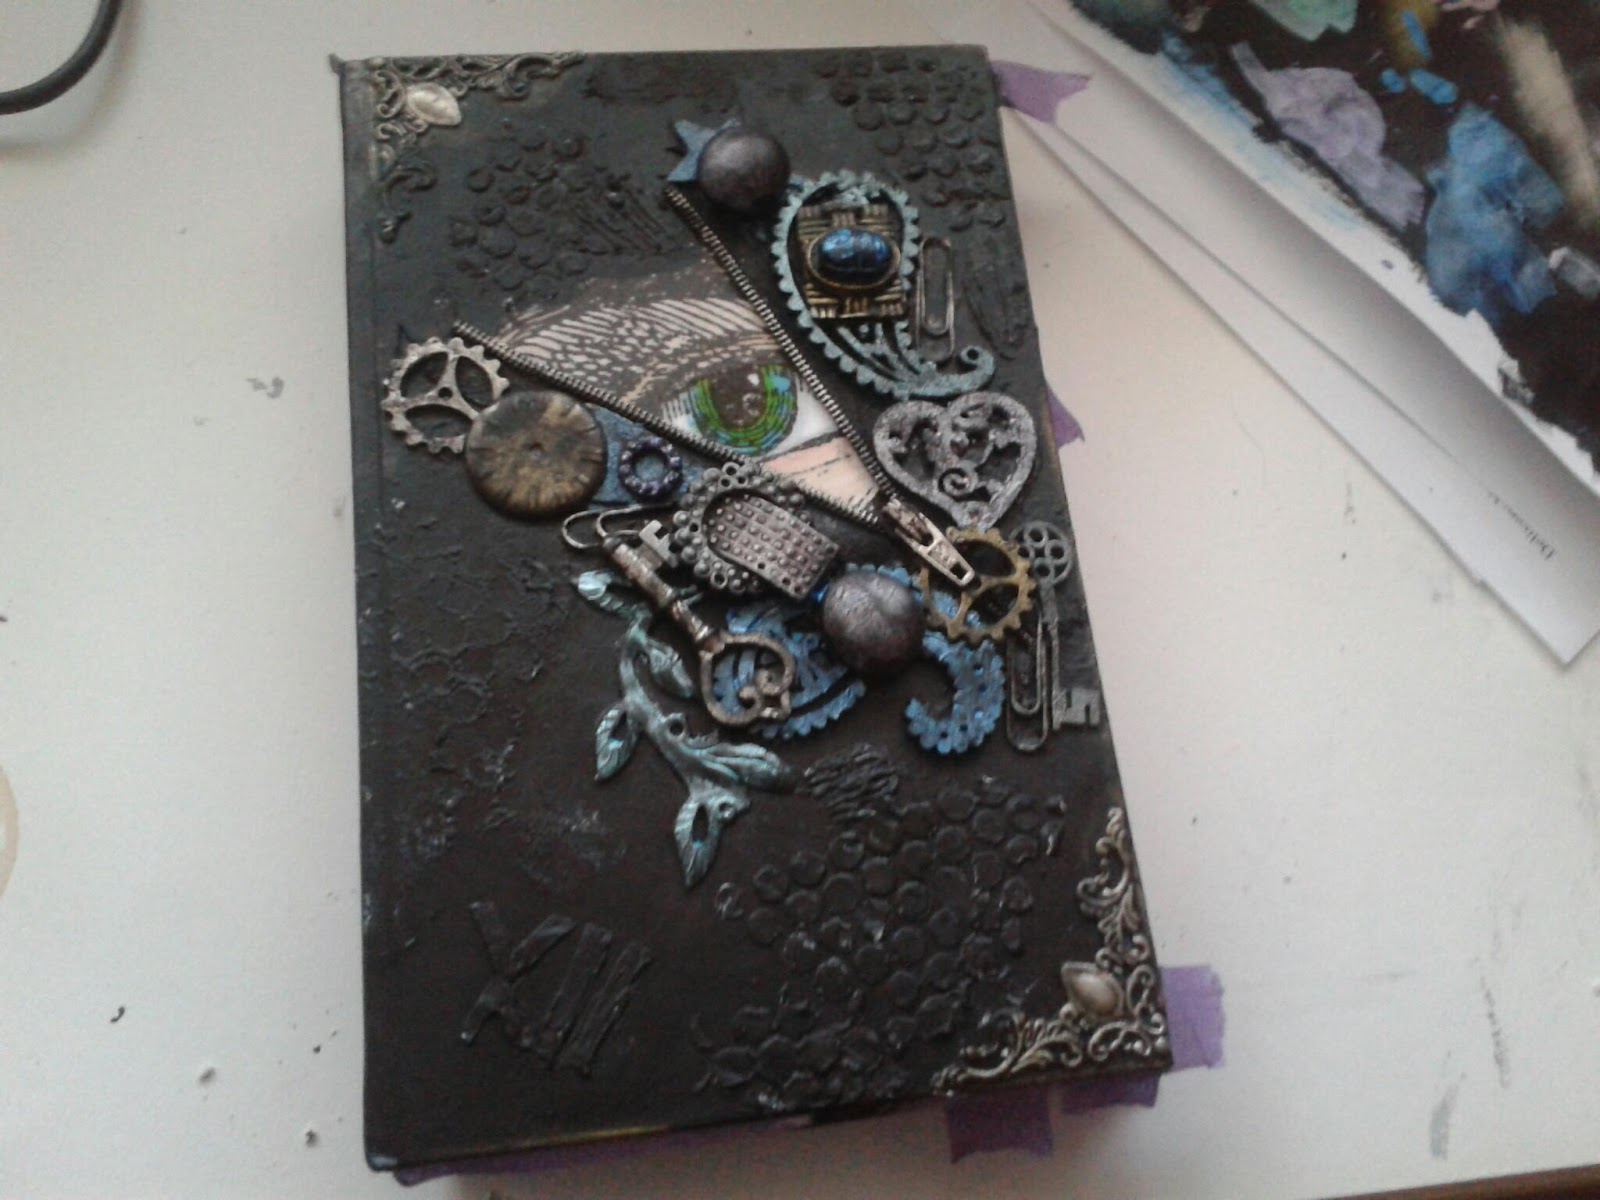

My cover reads:
"This art journal is... a sanctuary for self-exploration, self-care and creative freedom.
a space full of beautiful mistakes, discoveries and adventures!
a place to experiment, develop skills and play.
a container for thoughts, dreams and emotions.
Negative judgements, fear and comparisons are not allowed!"


Page of inspiration.
Some of the ephemera used in my journal was supplied by


My version of  Kasia's first page.


Things I love spread


This is my version of the Week 1 Jamie's Journey class. If you would like to join Wanderlust 2018 find out more HERE.

I started with making cards back in 2009.... to be honest when I looked back at the photos of some of my first ones I cringed, but you have to start somewhere! I then moved on to jewellery, polymer clay and scrapbooks. I had some time on a design team and then started my love for mixed media in 2012. From journals to prop making, altering items and back again! And so my journey continues....


Are you doing any courses this year? Let me know in the comments below!
Thanks for your continuing support. 😊
Much love 
Sez x

Wednesday, 20 December 2017

More Sezzing! Table and Tablet Case

Hello my lovelies! I have posted on Instagram and FB but wanted to share here too! I decided to 'Sez' some more! (Sez is altering/personalising in my style). I tend to use my art table as a big palette while I work, as you can see in the first photo. So it naturally called out to me to be one big art piece that I can add to!


I had loads of fun! I finished it off with some acrylic ink splats. I love how it turned out and I've actually found that it inspires me to create more, which is great! I am planning to nest in my new studio and once I've finished I will post pics. 😊

Well, after 'Sezzing' my table I went on to 'Sez' my new tablet case. It started out as plain red. I couldn't leave it like that so I had a whale of a time! Lots of funky layers in acrylic paint and I used POSCA pens for details. Love it! 😊


Even on the inside!


I hope I've inspired you to have a go at altering boring every day objects into works of art!
Thanks for stopping by, I really appreciate it.
Much love
Sez x

Tuesday, 28 February 2017

Wanderlust 2017 Week 5 - There is No Final!


Hello my lovelies!
I just wanted to share week 5 of Wanderlust with you!
We had to start various pages in different ways, using
items we wouldn't usually use in the first layer.
I must admit it was a bit daunting at first but I had fun &
went with it!

 Paper Tape

Focal Stamps


Used Baby Wipes (sewn on)


Distress Inks (L) Lindys & DecoArt Spray Inks (R)


Modelling Paste (through stencils) (L) Focal Collage (R)


PaperArtsy Infusions & Lindy's Spray Inks


The one above did get finished into a spread HERE.

I'm sure in time, they all will get 'finished' but it was
refreshing to stop each one after the first layer!
Certainly breaks the blank page.
I found completing the spread mentioned above,
 easier with the first layer already done.

Are you taking part in Wanderlust 2017?
Let me know in the comments below!
Crafty hugs
Sez x

Thursday, 16 February 2017

#AThingCalledLove - Week 1 - Brandi Dayton


Hiya my lovelies!
My posts are like buses today! Haha!
😆

Anyway I just wanted to share this piece I did last night.
The wonderful Brandi Dayton
has a fabulous & free class where we can learn from
all different artists including her for the next 15 weeks!!!
So generous!
Here is my version of the class she taught for week 1.

'Birdie Love'

I really enjoyed this lesson & I look forward to doing more.

Let me know if you are joining in too, in the comments below!
Crafty hugs
Sez x

Friday, 10 February 2017

PaperArtsy Challenge #2 Masks


Hiya my lovelies!
Today I'm sharing my make for PaperArtsy's

I decided to do a very easy & simple page in my
Mini Moley Journal.
This simple & easy technique is one of my faves! 
I applied Rose, Very Berry
London Bus & Blood Orange Frescos
onto my page after a coat of Clear Gesso.
have to gesso the pages as thin!


            I then placed a heart shaped post it note on top.
Easy right?


I then sprayed over the top with a homemade purple spray.


Simple!


Heart shape! Yey!
I liked that it wasn't perfect, but if you don't, I suggest you use
a temporary fixative to hold the mask down.


Finished off with a Black Staedtler Lumocolor & a Black Biro.
 Told you it was simple & easy!

Thanks for stopping by!
Let me know what simple techniques you
still love to use in a comment below!
Crafty hugs
Sez x


Monday, 14 November 2016

Mixed Media Madness Couse


Hiya my lovelies!
I know it's been a while...
I lost my creative mojo for a bit. Being poorly does that to me sometimes.
You can read about that HERE.

Anyway I felt that I needed a bit of a kick up the bum!
So, I enroled on an online course,
Mixed Media Madness by Miriam Schulman @ The Inspiration Place
It's a great course especially if you are new to mixed media.
I felt inspired after watching the video tutorials and made
these canvases for my newly decorated kitchen!


Sometimes watching others kickstarts the creative juices!
I have also enroled on next years Wanderlust 2017 course.
So watch this space!

Cheers for stopping by & leave me a comment!
Crafty Hugs
Sez x


Friday, 19 August 2016

My Cosmic Gown


Hiya my lovelies!
I've got something a bit different to share today...
My little brother (who's not so little) got married in New York a few weeks ago!
The newlyweds had a reception here when they got back.

I originally got my dress from the Oxfam website.
I fell in love with it but wanted to tweak it a bit.
So, I decided to 'decorate' it.
I started by masking off the top of the dress.
I wanted to keep this plain.
I got out my Decoart Media Misters and my Daler Rowney
Pearlescent Acrylic Inks & basically went bonkers with them!
I had to take it outside after realising I'd got it all over my floor...
(I always realise after) but it cleaned up with baby wipes!
Round two was done in the garden hung up on the washing line.

Close up

It shines all different colours in the light!


I was over the moon with the results!
My very own cosmic, shimmery gown.

I had to make the happy couple a card too!
I used a stencil from TCW Mini Life Remembered & used some
pink and blue Daler Rowney pearlescent Acrylic Ink & sponged it on
as a background. Once dry I stamped the metal patchwork heart stamp from
PaperArtsy Eclectica Darcy 02 set for my brother (he's a welder) &
I used the word heart stamp from PaperArtsy Eclectica Darcy 01
set for his wife (she's a teacher) Get it?
Anyway, I went round the edges with Archival Ink in Watering Can
which I also used on the stamps!
Ta da!
My version of a CAS card which is a first! 

Now it was all going to plan until the day of the reception...
I spent most of the day sorting my tribe out (there's quite a few of us, 6 to be exact)
& getting ready. This takes me so much longer to do now.
Troweled enough make up on to render a wall,
remembering not to put my dress on til last,
otherwise I'd get it dirty before we'd even left the house!
Stepped in my dress to put it on & after 3 of us trying to
squeeze me into it & do the zip up,
it wasn't happening.
Yep, I've put on so much weight in 4 weeks it doesn't fit!
BLOOMIN' MEDS!!!

All was not lost, I had a back up dress.
All girls have a back up dress.
Still, I'm sad I didn't get to wear my cosmic gown.
One day...

Cheers for stopping by!
Feel free to leave a comment.
Crafty hugs
Sez x


Friday, 5 June 2015

Project 2 for ON&DT- Found Objects

 Hiya my lovelies!
It's time for a new project over at Old, New & Digital Too!
This month it's my turn to pick the theme & I chose Found Objects.
Here's what I did...
I FOUND an OLD book...
 
 
I cut a section out of each page which seemed to take forever!!!
(I left some back pages as a base & the first couple to hide the cut outs!)
  
 
I then glued them all together (which also took ages!) to form a box... a secret box! (which is why I kept the first couple of pages intact).
 
 
I then sourced my digital image from The Graphics Fairy which is an eye. I chose this image because this project is also going to be a gift! My friend is into crime/mystery books & thought it was apt. 
  I coloured the eye in using Promarkers & sealed it with a layer of Glossy Accents to give the eyeball some shine. I then adhered it to the book cover with matte medium.
 

I then chose some more FOUND OBJECTS to frame the eye. I don't know about you, but I have a big box of bits & bobs, broken jewellery, old nik naks & numerous random bought embellishments made for the 'mix media' market. I love this box of delights! I chose an OLD zip for the eye to peer out from. I thought it lended itself well to crime/mystery effect. I chose various other bits & bobs & glued them on.
 
 
I masked off the pages & the eye with low tack masking tape & painted a coat of black gesso over the cover.
 
I then used my NEW Daler Rowney artist acrylic inks to paint the objects. I got these at xmas & hadn't used them yet, so was excited to use them! I also used some Treasure Gold too. I then decided that it needed some texture so I added some grunge paste through stencils. I don't always do things in the right order but hey ho!
 
 
I gave it another coat of black gesso & 'knocked back' the colours a bit with it on the objects.
  I then used some Treasure Gold in teal, indigo, pewter & olive gold to bring out some of the texture. I also used some gliding flakes on some of the texture & on the spine of the book.

Side View
 
Ta da!
So that's this months project!
I hope you like it as much as I did making it.
Please head on over to ON&DT to see the other DT's projects!
 I am also this month's featured DT & there's a little inside info about me on there too! ;)
 
Thanks so much for stopping by, I really do appreciate it!
Feel free to leave a comment!
Crafty hugs
Sez x